How to install Python and Tensorflow in windows.
This document describes how to install python and tensorflow in windows step by step.
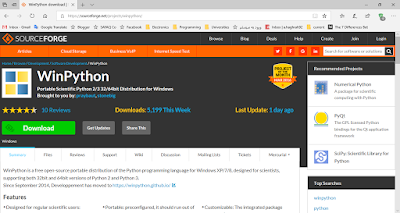
1- First of all you need to download "WinPython" which you can easily find it by google it or just click on the name of it which contains the download link.
2- Then "Run" the downloaded file as "Administrator".

3- Accept the "License Agreement".
 4- Select the directory to installing the "WinPython" which I choose the main "C:\" Directory as you see in the below image.
 5- It takes several minutes up to installing the "WinPython" which depends on your system configuration.
 6- Its just over.
 7- By installing "WinPython" some good IDEs like "Spyder" is install too. Open the installation directory to have access these IDEs. For example I install "WinPython" in Drive "C:" as follow I can see "Spyder" IDE:
 8- Now run "Spyder" to test the validity of "WinPython" installation.
 9- Lets check a simple Code which add up to number.

10- Now Python and our IDE is install properly, its the time for installing "Tensorflow", Go to "WinPython" installation directory and Run the "WinPython Command Prompt" as administrator.

11- Write the "pip3 install --upgrade tensorflow" as follow and then press Enter button.

12- Automatically every necessary packages will be install.


13- Everything is almost done. Now lets check the "Tensorflow" installation. Open "Spyder" and write the following lines of code and Run it, If you get the "Hello Tensorflow" message your installation is successful.
import tensorflow as tf
hello = tf.constant('Hello, TensorFlow!')
sess = tf.Session()
print(sess.run(hello))

14- Almost Done :-)
1- First of all you need to download "WinPython" which you can easily find it by google it or just click on the name of it which contains the download link.

2- Then "Run" the downloaded file as "Administrator".

3- Accept the "License Agreement".


11- Write the "pip3 install --upgrade tensorflow" as follow and then press Enter button.

12- Automatically every necessary packages will be install.


import tensorflow as tf
hello = tf.constant('Hello, TensorFlow!')
sess = tf.Session()
print(sess.run(hello))

14- Almost Done :-)
Comments
Post a Comment